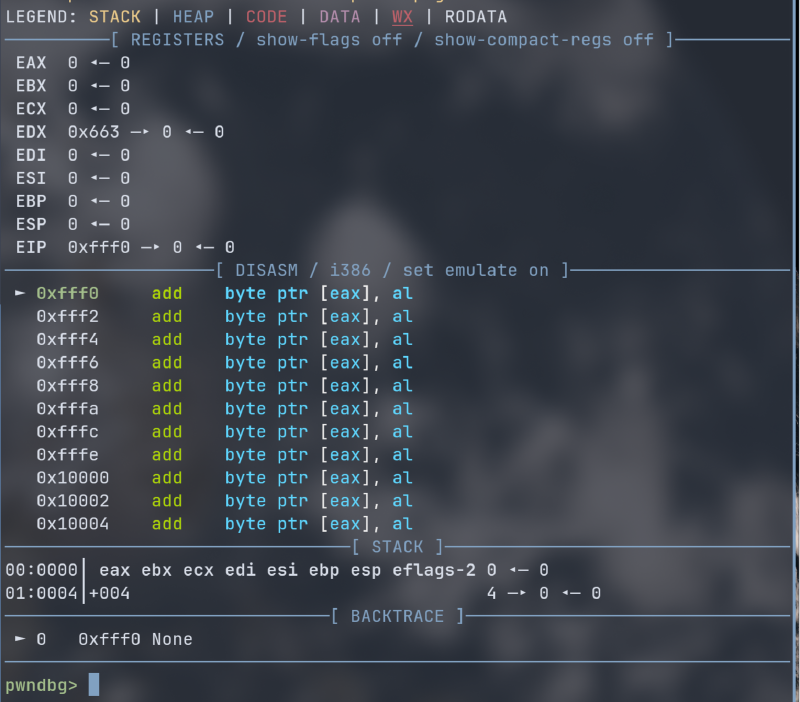
为了探究 BIOS 的原理,不错的选择是可以逐行代码调试,这里选择 SeaBIOS 利用 qemu 远程 gdb 调试 seabios。
首先需要有 SeaBIOS 源码,可以从 qemu/seabios 中下载下来。
首先打开编译参数中的串口调试: 在 seabios 源码目录里运行:
|
|
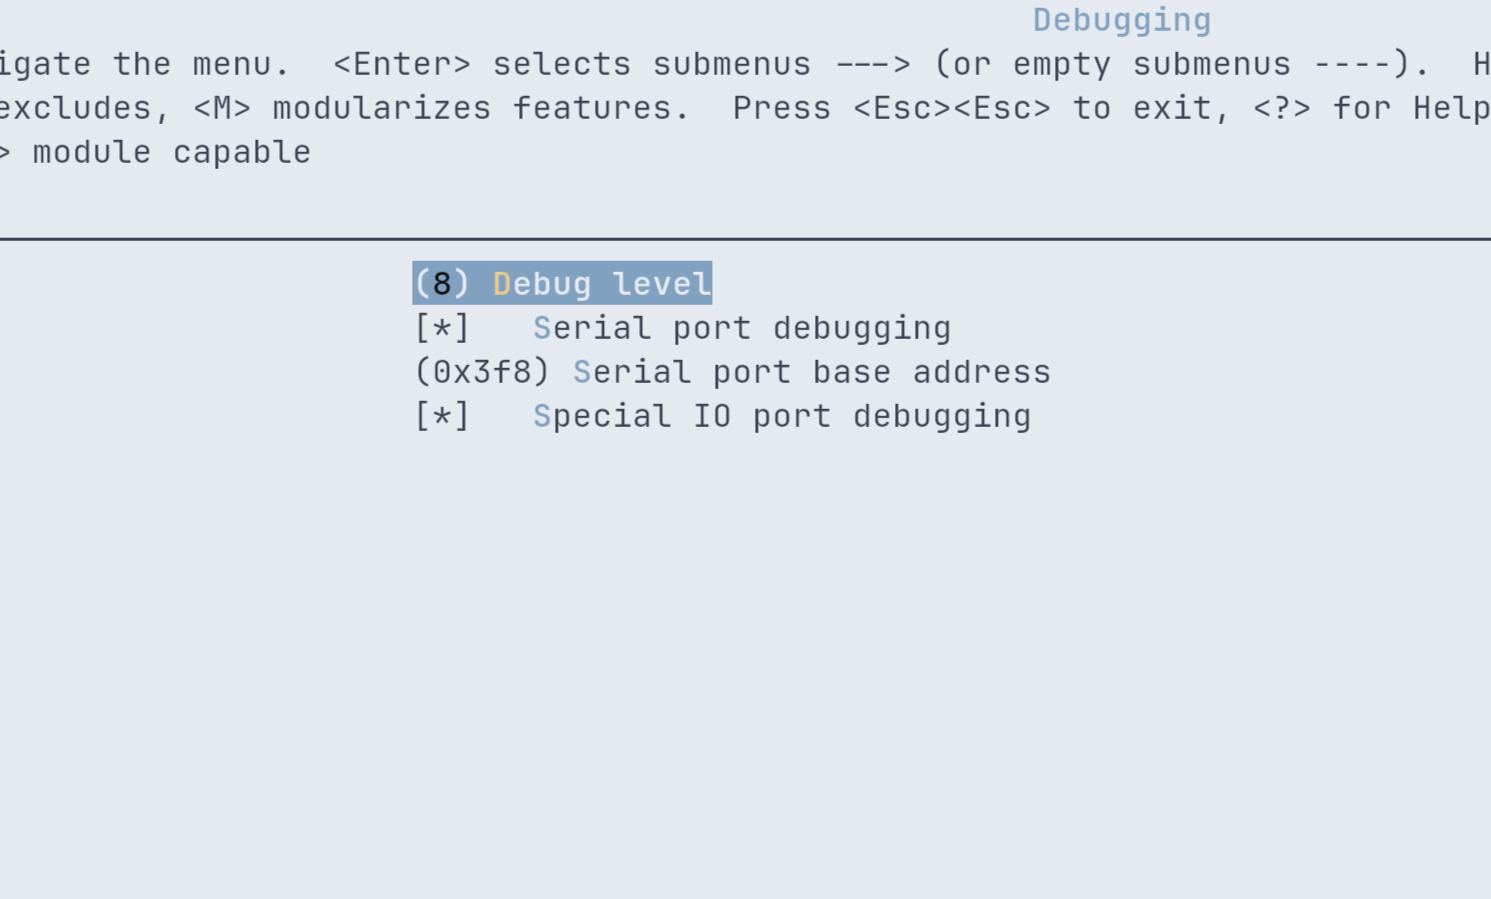
选择 Debugging,将 Debug level 设置为 8,然后打开 Serial port debugging,如图所示:
 保存退出后用 make 编译。
编译后的二进制文件保存在 out/bios.bin,调试符号在 out/rom.o。
我的做法是新建一个引导扇区文件运行,当 seabios 初始化完成后就加载改引导扇区,不过如果只是调试 seabios 其实也可以不需要。
首先编辑如下汇编代码:
|
|
编译:
|
|
用如下脚本运行 qemu:
|
|
这里 file=后面是你的引导扇区文件。 -S -s 打开调试参数。-S 让 QEMU 启动后就立刻挂起 CPU 等待 gdb 指令。-s 在本地 TCP 1234 端口启动 gdb 服务。
-nographic 使用控制台输出。
运行,没有输出,因为 CPU 被挂起了。
tmux 分个屏,输出:
|
|
打开 gdb。输入
|
|
就连接到 seabios 调试了。
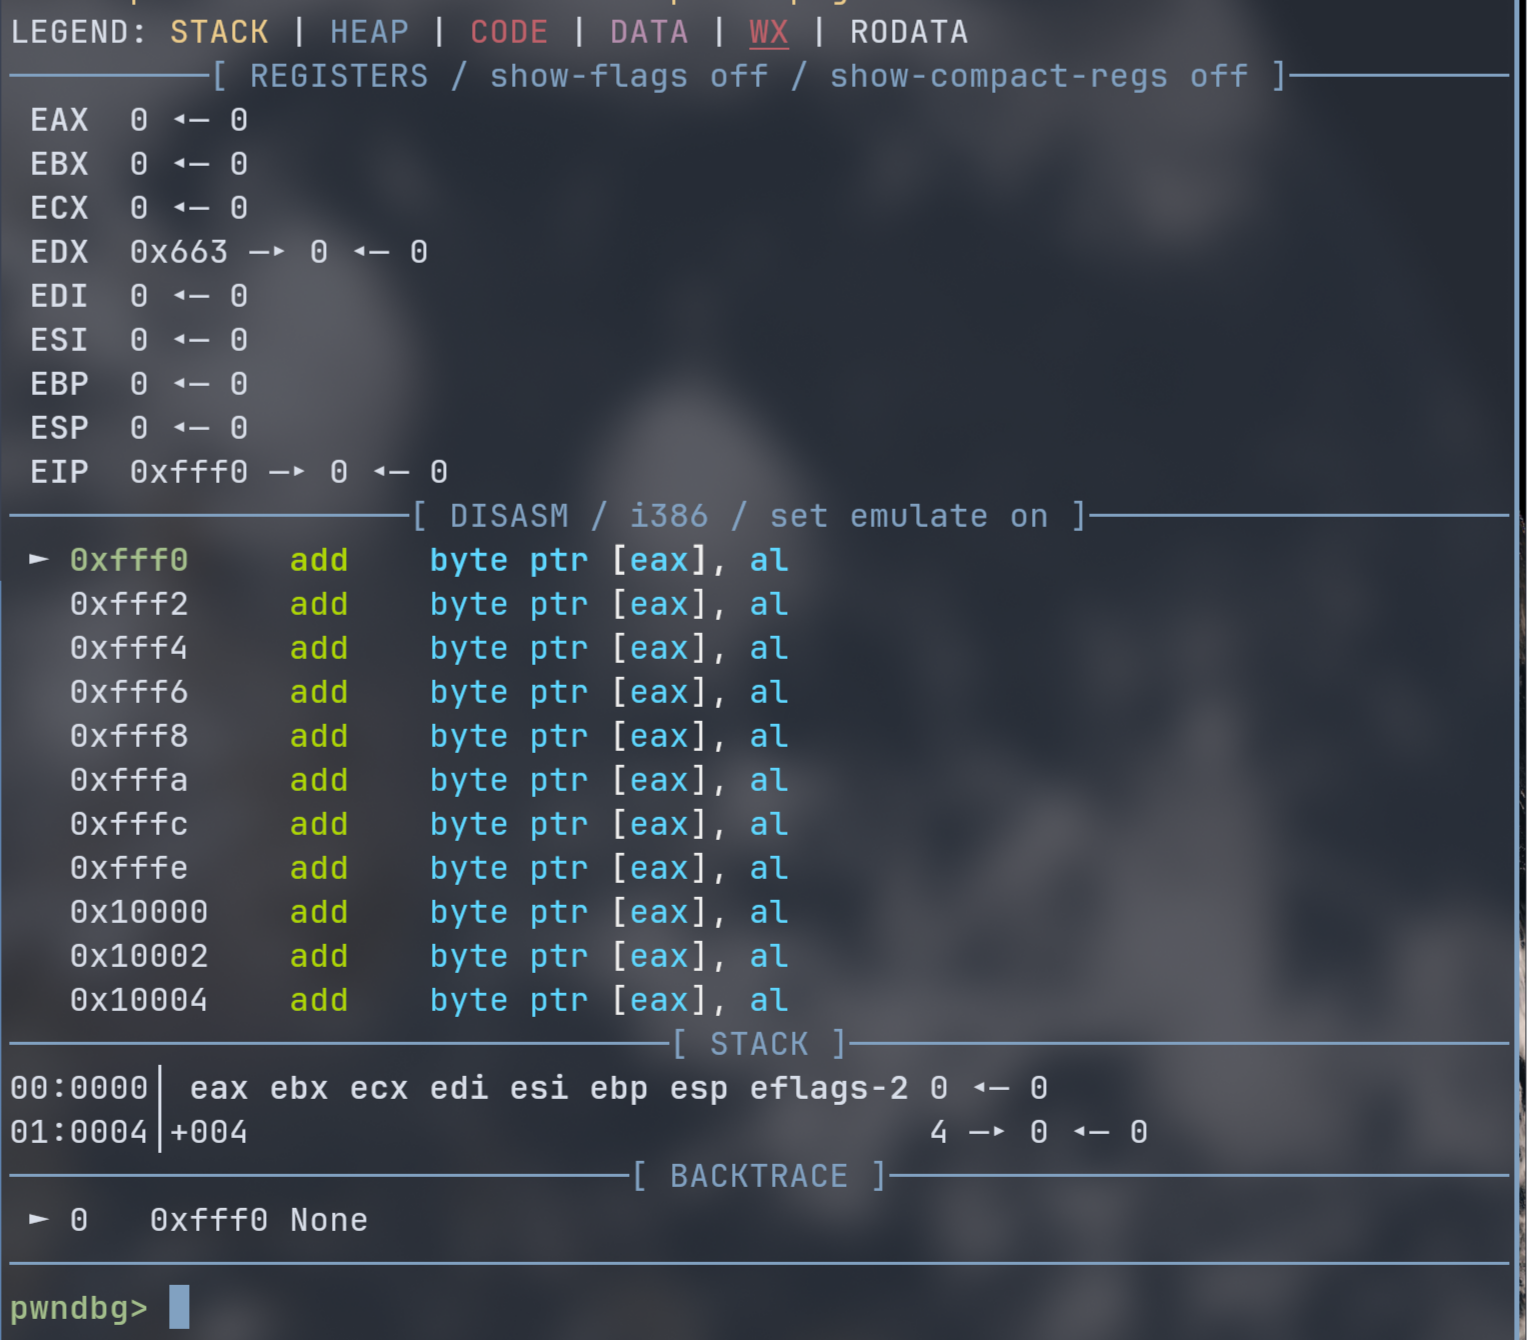 可以看到这时候地址在 0xfff0 内,这可是真实地址,此时在实模式里。
我们可以对 handle_post 打断点:

输入 c 运行,此时就在 handle_post 函数的起始位置了。